Effects
Distort
Twirl, Bend, Wave Warp, Turbulent Displace, Mesh Warp, Corner Pin and Mirrors — the warps, from a one-knob vortex to a hand-posed deformation grid.
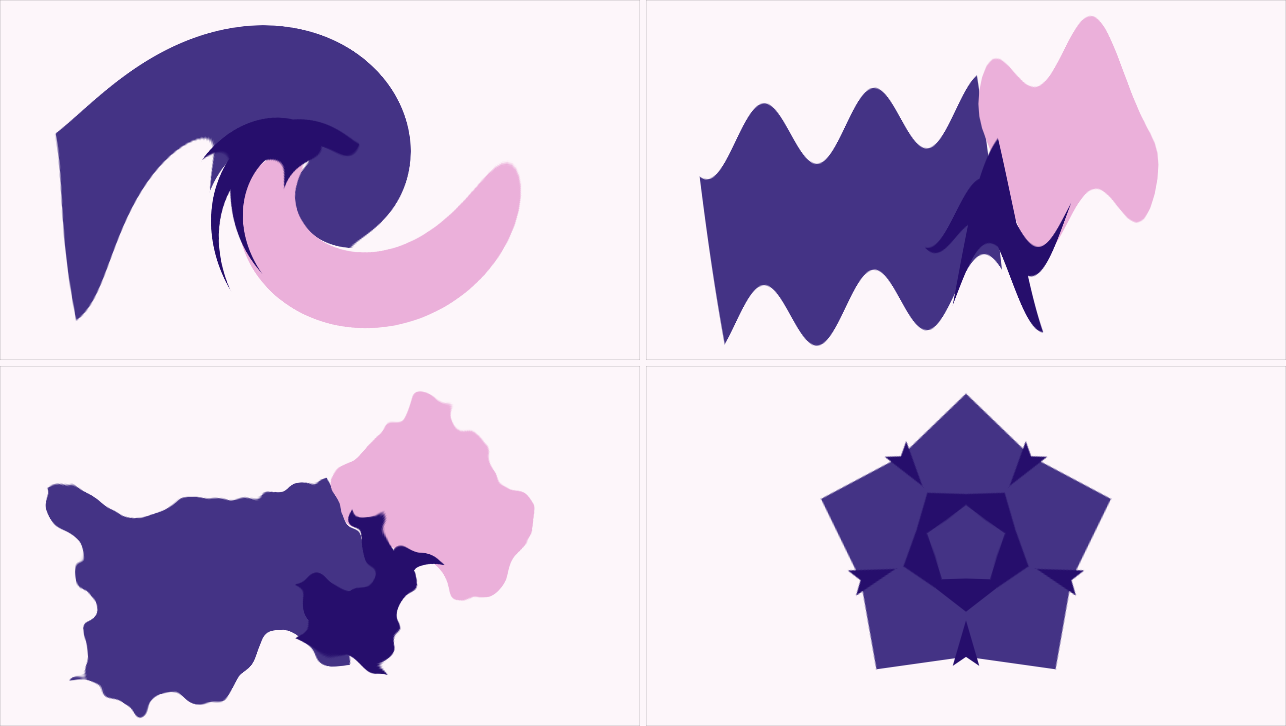
The distort family bends pixels. All of them work identically on any layer type — a drawing, a photo, video, text, a whole group — because they warp the rendered result, not the geometry underneath. (The one distortion that does work on geometry is Liquid Shapes; the hand-drawn wobble, Boil, lives with the animated-strokes family.)
Twirl
A vortex: Angle (either direction), Radius (pixels outside it are genuinely untouched), a draggable Center — a whirlpool in a corner, a spin on somebody’s head — and Falloff, which is where the character lives: low keeps the rotation almost to the edge and stops abruptly (a hard disc that spins), high concentrates everything at the centre and eases away long before the edge (a tight vortex, a drain). Four presets ship: Whirlpool, Tight Vortex, Spun Disc, and Unwind — the same shape turning the other way, for the outgoing half of a transition.
Bend
CC Bend It, if you know After Effects: two on-canvas handles mark a strip of the layer, and Amount bends that strip into a circular arc — ±100 is about a half-circle curl, sign flips the direction. The bend is rigid, like a strip of paper — nothing stretches or squashes across its width — and everything past the handles continues straight, tangent to the arc. Waving flags, curling pages, nodding plants: two handles and one dial.
Wave Warp
The classic travelling sine ripple — Height, Width, Direction, Speed — with one addition worth knowing: Randomness. At 0 it’s a perfectly periodic wave (the flag-ripple standard); turned up, each crest’s height and spacing varies with a slow noise, so consecutive waves stop repeating identically — water instead of wallpaper.
Turbulent Displace
Organic crumple: every pixel pulled by a fractal noise field. Amount (how far), Size (feature size — broad slow rolls or tight busy wrinkling), and Evolution — a continuous dial you keyframe to make the distortion morph over time; heat haze, underwater wobble, unstable ink. Noise Type picks the texture: Smooth, Turbulent Smoother, or Turbulent (the busiest).
Mesh Warp
The hand-posed one: a grid of control points (your choice of rows × columns) laid over the layer, each with bezier tangent handles. Drag points in the viewport and the picture follows, patch by patch. Unlike the rest of the family the grid is layer-local — it moves, rotates and scales with the layer, like a mask does.
The grid pose keyframes as a whole — drag points with no keyframes and you’re shaping the static pose; set one keyframe and every later edit stamps a pose at the playhead, tweening between them with real easing. Straight Edges mode trades the bezier handles for plain straight lines between points — simpler to pose, and honest about it (turning it on clears every tangent). A caution the panel states plainly: changing the grid’s row/column count resets the warp and drops its keyframes — there’s no well-defined way to re-fit an existing warp onto a different number of points.
Corner Pin
The “stick this onto that surface” tool: four pins, dragged onto a screen, a poster, a wall — and the layer sits on it. Unlike every other distort this is a true projective map: a plane seen at an angle has its far edge shorter than its near one, which no rotate/scale/skew can fake.
Two details make it behave like a tool rather than a trap: a freshly-added Corner Pin is an exact no-op (the pins start on the layer’s own corners), and the pinned artwork is the layer’s content — a logo occupying a tenth of the canvas lands its artwork on the pins, not a mostly-empty canvas rectangle.
It’s also the motion tracker’s landing pad: track a surface, press Stick, and the tracker writes these four corners on every frame. The pins stay draggable afterwards if a frame wants a nudge.
Mirrors
The animatable, non-destructive sibling of the Symmetry drawing guide: the guide mirrors your strokes as you draw them; this mirrors the rendered output every frame, so the axes can be keyframed and the whole arrangement can move, spin or fold while the artwork stays untouched.
Layout: Vertical, Horizontal, Quadrant, Radial (mirrored wedges — the classic kaleidoscope), or Pinwheel (rotated wedges, nothing comes out backwards), with a Slices count and a draggable centre + rotation handle (Shift snaps to 15°). Mode is the real choice:
- Reflect — keeps your layer and fills mirrored copies in behind it: “make this symmetric.” Animate one half of a face and the other follows. Blend fades the copies, so symmetry can animate in from nothing.
- Kaleidoscope — keeps only the source wedge, repeated into every other wedge. Arbitrary footage becomes a mandala; keyframe Angle and it spins. (Use this one on opaque footage — Reflect needs transparency to fill into.)
On an adjustment layer, Mirrors folds everything below it.
Recipe — a heat shimmer. Turbulent Displace on an adjustment layer over the scene: Amount ~8, Size ~40, then keyframe Evolution steadily upward. Confine it with a mask to the exhaust, the road, the candle.
Recipe — a kaleidoscope transition. Mirrors → Kaleidoscope → Radial, 12 slices, on the outgoing shot. Keyframe Angle 0 → 90° and Slices stepping 12 → 4 as you cut. The image folds itself away.