Animate
Text animation
The text animator — a moving selection sweeps your glyphs and one set of offsets rides it. Typewriters, cascades, waves and scrambles from one mechanism.
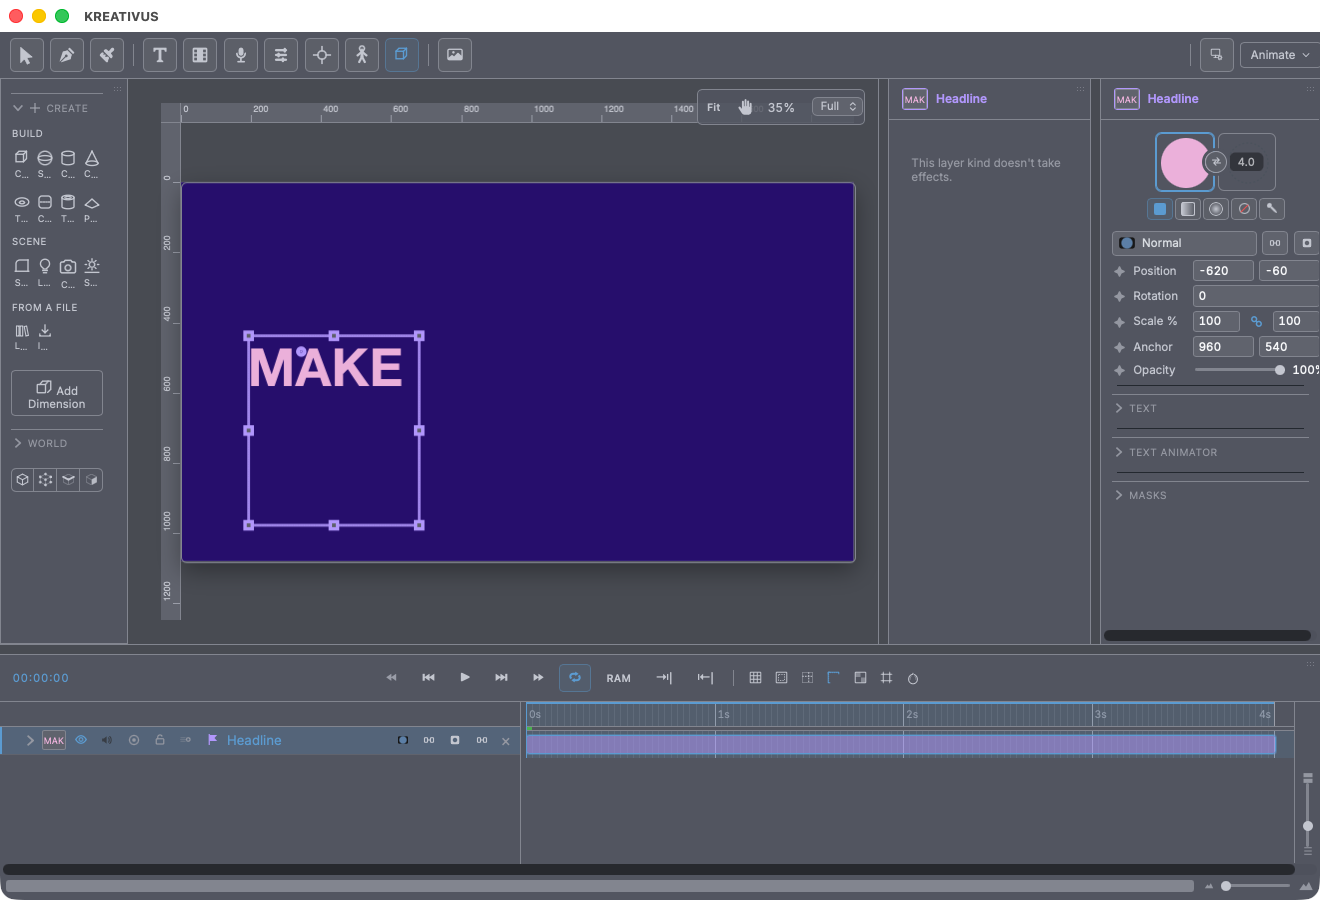
Type with the Text tool, style it (font, size, letter and line spacing — all keyframable, Source Text included), then animate it properly: Kreativus carries a full text animator, After Effects’ single most-used text feature.
The whole idea in one sentence: your glyphs are split into units (characters, words or lines), a range selector says how much each unit is “selected” right now, and one set of offsets is applied to each unit in proportion to its selection. A typewriter is an Opacity offset of 0 with a square selector whose Start sweeps 0→100%. A cascade is the same selector driving Position. One mechanism is worth a hundred canned text effects — which is why it’s built as a mechanism.
The range selector
Based on — Characters, Characters excluding spaces (a typewriter reveals “ab cd” in four beats, not five — which is what a typewriter does), Words, or Lines (including lines made by wrapping).
Shape — how selection falls across the window: Square (fully in or out — the typewriter), Ramp ↑/↓, Triangle (a travelling wave), Round, Smooth (eases at the edges and the top — the organic one). Squares get a Smoothness feather; every shape gets Ease High/Low to bias how letters leave and arrive.
Start / End / Offset — the three keyframable properties, with their own timeline rows. Keyframing Start is the animation; keyframing Offset instead sends a fixed-width window travelling along the text — that’s the difference between a reveal and a wave.
Randomize Order shuffles which unit takes which turn (deterministic in its seed — scrubbing never reshuffles; press Reshuffle for a new deal), and Reverse sweeps from the far end — types right-to-left, reveals bottom-up.
What a selected glyph can do
Position (X/Y), Scale (X/Y), Rotation (each unit spins about its own centre), Opacity, Tracking (extra advance that accumulates — the “letters drift apart” move), and Skew (the cheap, convincing speed-lean). Identity values leave the text pixel-untouched, so an animator only ever changes what you set.
The offsets stay put while the selection moves across them — and the animator composes on top of the layer’s whole-transform keyframes, so a title can slide in while its letters run their own sweep.
The eleven Text presets
Every Text entry in the Animate panel sets an animator up for you — press one, then open it and read how it works; building your own is keyframing Start and nothing else.
| Preset | The trick |
|---|---|
| Typewriter | Selected = invisible; the sweep un-selects as it advances |
| Fade Up Words | Words drift up and fade on, one after the next |
| Cascade | Letters drop in a rolling wave, tumbling as they land |
| Scramble On | Arrives in shuffled order (Randomize + a seed) |
| Wave | Offset loops a fixed window — a bump travels forever |
| Ripple Scale | A swell of size runs along the word, ping-ponging |
| Fly In | Streaks in from the right, skewed with the speed |
| Unspace | Tracking starts huge; End sweeps down so the word closes up |
| Line Reveal | Whole lines rise one at a time — paragraphs, credits |
| Jitter Text | A narrow shuffled window scrubbing back and forth — the boil |
| Drop Out | Letters fall away one by one, in reading order — the exit |
One animator per layer — every property can move at once (“fly in while spinning and fading” is one animator), and applying a second text preset is a change of mind, not a stack.
Recipe — karaoke-style emphasis. Based on → Words, Shape → Round, Scale 1.4, a warm fill via the layer’s own color. Keyframe Offset across the line in time with the read. Each word swells as it’s spoken and relaxes after.