Draw
Drawing & vectors
The vector toolset — pencil, bezier pen, shapes, scissors, booleans, the Width tool, trim paths, dashes and symmetry.
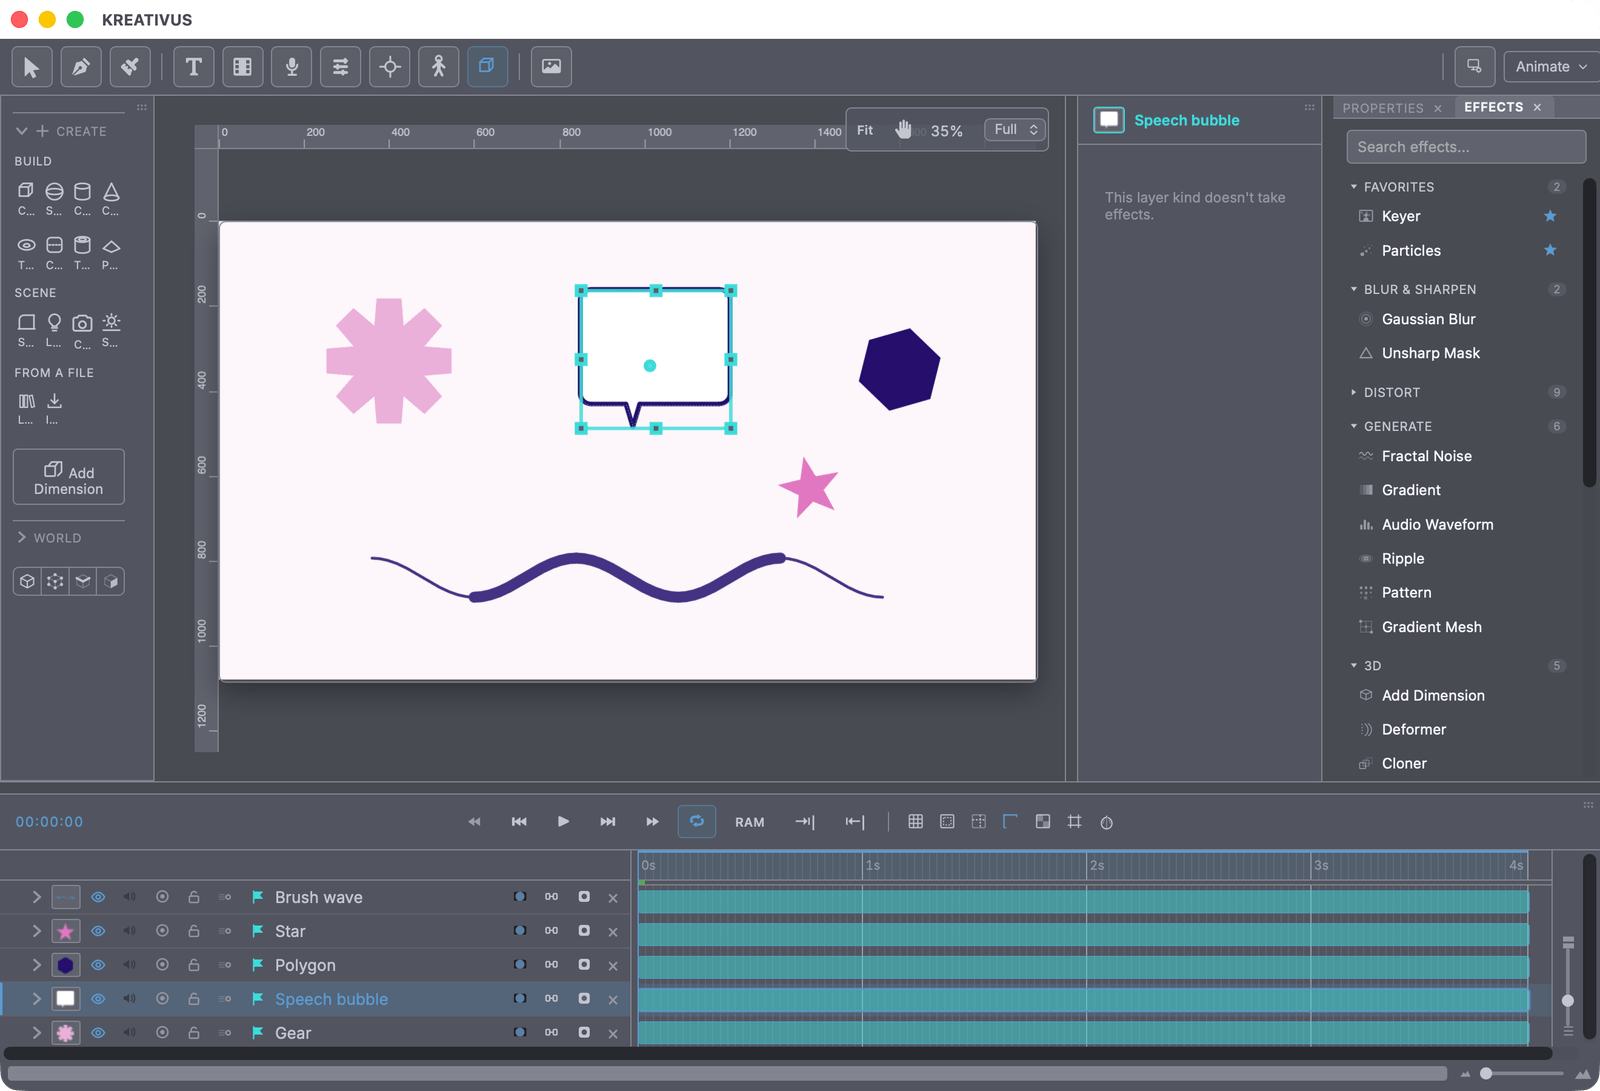
Everything you draw in Kreativus is a real, editable vector layer — resolution-independent, keyframable, and ready for every effect in the rack. This page covers the vector side; painting with pixels lives on the Brushes and Raster tools pages.
The tools
Select (V) moves and transforms layers; hover its button for Anchor Point (Y), which drags a layer’s pivot without moving the layer. The Draw tool (A) is a flyout holding the drawing modes:
- Pencil — draw freehand; the app fits a smooth curve to your gesture. The Smooth dial (0–10) sets how much hand-tremor is absorbed: low hugs your motion, high produces long confident curves. A dead-straight line is fitted faithfully too.
- Bezier Pen — click to place anchors, drag to curve. On a finished path: click a point to remove it, click a segment to add one, and hold ⌘ to drag points and handles without leaving the pen.
- Brush — pressure-sensitive vector ink. Its whole world (33 presets, tapers, boils and marches) lives on the Animated strokes page.
- Scissors — drag to cut. Radius goes from a wide eraser-style groove down to 0 for a true zero-width split, and a mode picker chooses Cut Groove (the shape stays one piece) or Split Layers (each piece becomes its own layer, grouped). Cut only selected keeps stray shapes safe.
- Shapes — six parametric primitives, below.
- Color Fill — a solid layer sized to the canvas.
- Width (W) and Graph (G) — their own tools, below and on their own page.
Three drawing behaviors apply across modes: Add to Selected parents each new stroke to the current selection (great for building a character from parts), Draw Behind / Draw Inside land strokes behind the selection or clipped inside it, and Keep Selected decides whether a fresh shape grabs the selection (Illustrator’s default) or leaves it alone.
Editing paths
Anchors and handles edit the way you’d hope: drag a handle and its partner mirrors for a smooth point; Alt-drag breaks the pair (the app’s standing break-the-symmetry modifier). Alt-click a segment inserts a point without changing the curve’s shape; Alt-click an anchor deletes it, neighbours untouched. Corners can be filleted into rounded corners with a live radius handle.
The six primitives
Every primitive stays parametric — its options are live dials, and every numeric one keyframes (a star’s points can animate; so can a pie’s sweep):
| Shape | Options |
|---|---|
| Rectangle | Corner radius (px) |
| Ellipse | Sweep (1–360° — a pie!), Hole (donut), Pie/Chord closure |
| Star | Points (3–20), Ratio, Corner rounding |
| Polygon | Sides (3–20), Corner |
| Gear | Teeth (3–30), Tooth ratio, Bore, Corner |
| Speech Bubble | Corner, Tail size, Tail angle (a compass — the tail pokes out wherever you point it), Straight/Bent tail |
Convert to Path bakes a primitive into freely-editable anchors when you need to push individual points (parametric animation on its options is baked at that moment).
Boolean operations
Select two or more shapes → Union, Subtract, Intersect, Exclude (the Illustrator Pathfinder set; Subtract is “minus front”). The result is one new editable layer wearing the frontmost shape’s style — and edges the operation never touched keep their exact original anchors rather than being refit.
Fill & stroke
Every layer carries a fill and a stroke, each with the full color/gradient editor and a swap gesture (X). Strokes go further than most apps:
- Cap (Butt/Round/Square) and Align — centre the stroke on the path, or keep it Inside/Outside so it never overflows a shape’s silhouette.
- Taper — the ends thin to a point over a chosen fraction, so even a closed shape reads as a drawn stroke whose pen came down and lifted.
- Width — animatable, like nearly everything here.
The colour picker
Clicking a swatch opens the same picker everywhere in the app — tool options, Properties, gradient stops, the Swatches panel. It applies live, so you judge a colour against the artwork rather than against a chip, and there are three ways to accept it: press Enter, press Apply, or double-click the square. Esc or the left half of the before/after bar at the top puts back the colour you opened on.
- Before / after — the bar under the heading is the colour you started with beside the one you have now. Click the left half to go back.
- Picking a colour turns the paint on. If Fill or Stroke is set to None, the popup says so and choosing a colour switches it on — no more picking a colour and watching nothing happen. Use the None button when you actually want it invisible.
- The hex field takes any form —
#fff,#aabbcc, or#aabbccddwith transparency — and the button beside it copies the code, alpha included when there is any. - Mix — colours worked out from the one you’re holding: a lighter/darker ramp, the classic harmonies (complement, analogous, triad, split), and the fixed basics.
- Recents fill in as you go, and + saves the current colour to the project palette.
Dashes
Nine ready patterns — Dotted, Sparse Dots, Short Dash, Dashed, Long Dash, Dash-Dot, Dash-Dot-Dot and Custom (three dash/gap pairs in pixels, typed exactly). The named patterns scale with the stroke’s own width so they hold their look at any thickness. Two controls do the animating:
- Offset — keyframe it by one dash-plus-gap and the dashes crawl. Marching ants, travelling seams, a route drawing itself along a map.
- Fit to path — nudges lengths so whole dashes fit exactly: a dashed rectangle closes cleanly at its seam, an open line ends on a dash instead of a stump.
Trim Paths — the write-on
The most-used control in motion graphics, and it sits on every vector layer — including brush strokes: Start, End and Offset decide where along its own length the path is drawn.
- Key End 0 → 100%: the line draws itself on.
- Key Start upward: it rubs itself out.
- Hold Start and End apart and key Offset through 360°: a segment chases around the path forever.
All three carry their own stopwatch right in the panel — trim is keyframed as a matter of course. Both the fill and the stroke follow the trim. (The Animate panel ships ten one-click Trim presets — Write On, Erase Off, Chase and friends.)
The Width tool
Illustrator’s Width tool (W): drag anywhere on a stroke and it swells or thins right there, the rest easing back to its own weight. One drag does both jobs — pull away from the path to fatten, slide along it to move the swell. Alt-drag moves one edge alone (asymmetric strokes); double-click a point removes it.
Width points are stored as multipliers of the stroke’s own weight at fractions of its length — which is why a profile survives editing the path, scales with the stroke width, and can be animated: the Width Offset property slides the whole shaping along the stroke (keyframe 0→100% for a swell that travels and loops), and Width Amount fades it in and out.
Eight ready profiles: Uniform, Swell, Point (tapers to nothing both ends — a drawn line rather than a drafted one), Taper In, Taper Out, Leaf, Waist, Ripple. On a vector brush stroke, the profile multiplies your pressure dynamics rather than replacing them.
Symmetry
Procreate-style mirror guides: a movable, rotatable axis set that every drawing tool reflects across while you draw — brush, eraser, pen, everything. Four modes: Vertical, Horizontal, Quadrant, and Radial (2–16 slices) with a Rotational switch — kaleidoscope (alternate wedges mirrored) or pinwheel (pure rotation, so lettering and arrows never come out backwards).
The touches that make it dependable: Assisted Drawing can be switched off so the axes stay as a pure reference; Lock Guide stops a stray drag nudging your axes mid-drawing; and the guide is saved in the project — reopen a mandala three weeks later and its axes are exactly where you left them. Drag the centre handle to move, the outer handle to rotate (Shift snaps 15°). Works identically on raster painting — and its animatable cousin, the Mirrors effect, folds finished artwork every frame.
Swatches & palettes
The Swatches panel holds project-linked colors and gradients — and linked is the point: recolor a swatch and every fill, stroke and paint-bucket region that used it updates, across the whole project. Compound swatches store fill + stroke + width together, applied in one click. Save palettes as reusable libraries, export them to files to share, or start from six built-in templates (Pastel Dream, Autumn, Ocean, Retro Neon, Monochrome Slate, Earth Tones). The color picker speaks RGB, HSB, CMYK (with real ICC preview when a profile is loaded) and Gray, with a viewport eyedropper.
Recipe — a route drawing itself on a map. Draw the route with the pencil. Give it a Short Dash pattern and Fit to path, then keyframe Trim End 0→100 for the write-on — and keep Offset crawling afterwards so the route stays alive.
The Brushes panel
Both brush collections — the natural-media paint brushes and the vector ones — live inside Tool options, where they appear once the matching tool is armed and switched to brush mode. That’s the right place while you’re painting and the wrong one while you’re deciding what to paint with, so they also have a standing home: the Brushes panel.
It’s the same galleries, not copies, so a brush behaves identically wherever you picked it. What the panel adds is that picking a brush hands it to you: choose a paint brush and the Paint tool arms in brush mode; choose a vector brush and the Draw tool does. One click from “I want that one” to a mark on the canvas.
Every row draws its own stroke, rendered by the real brush engine — grain, wet edges, taper and streak all show, which is the only honest way to tell a 6B from a litho crayon. Save as Preset at the foot of each collection keeps whatever you’ve dialled in, and your saved ones get their own section.
It stands open in the Draw workspace, under Tool options; everywhere else it’s in the Panels menu. (Its categories remember their own open/closed state separately from the tool rail’s — the panel is tall where the rail is cramped, so they earn different defaults.)
The Draw workspace
Switch to Draw (toolbar top-right, or the Panels menu) and the app becomes a drawing desk: boards and a layer stack instead of a timeline, and the tool strip keeps just the making-pictures tools — no frame layers, puppets, instruments or 3D. The Brushes panel stands open under the tools, and it also hands you the pencil, armed and ready — draw straight onto the canvas and the layer is made for you, no “new layer” step first. (If you arrive with the paint brush or another drawing tool already armed, that one stays: the pencil is the default, not an override.) The toolbar’s comp row trims to just the canvas size here too — length and frame rate are questions a still doesn’t have. That’s a lens, not a wall: anything already in the file (an animation, a music layer, a 3D object) still plays and stays fully editable, effect search still finds everything under “In other workspaces”, and the Studio workspace — everything on — is one switch away.
Drawing into the scene
Everything on this page draws on the picture. When a composition has 3D in it, the same pen can draw into it instead — a stroke that stands on a surface in the world, stays there when you orbit, and is hidden behind geometry per pixel. It’s still an ordinary drawn layer with all its keyframes and effects. See Drawing in the scene.